Measurement techniques for aspheric surface parameters

The measurement technique of an aspheric surface is mainly for the surface form and parameters. The surface form is the three-dimensional distribution of the surface in the spatial domain. The measurement result of surface form is a geometric quantity and is often expressed in surface height, which is a function of (x, y) coordinate with a unit of length. Meanwhile, the aspheric surface parameters (ASPs) are well-defined quantities that can be derived from the surface form. The measurements of surface form and parameters can both assess the aspheric surface quality.
The surface form measurement obtains the deviation in the spatial domain between the surface under test and the design model, which can effectively guide the processing in the optical shop. Theoretically, the optical system can meet the requirements as long as the surface form error of each surface is sufficiently small. However, extremely small surface form errors are rarely required for each surface because such an excessively high processing target will markedly increase the cost. Assigning the exact final processing precision target to each surface is important in manufacturing the aspheric surface.
The parameter measurement obtains the light modulation deviation between the surface under test and the design model, which can effectively assess whether the surface can function as expected in the optical system. The parameter measurement results can provide feedback to the model of the aspherical optical system in the commercial optical design software to determine whether the surface can meet the requirements.
In summary, the surface form measurement provides direction for the processing, while the parameter measurement provides a suitable target for processing.
The authors of a study published in Light: Advanced Manufacturing have classified the parameter measurement methods into two major categories according to the data processing approach: general fitting and center-of-curvature-based methods.
General fitting method
If the measured data are directly used to calculate the ASPs, then the methods are classified into the general fitting method category. The general fitting method can measure all aspheric parameters and is commonly used in optical shop testing. The authors classified the general fitting method into three types according to the measurement data source: direct fitting method, interferometric method, and geometrical method.
Direct fitting method
In the direct fitting method, the aspheric surface form is measured, then the measured data are mathematically fitted to obtain the ASPs. This method is widely used due to the maturity of surface form measurement techniques. However, accurately measuring the aspheric surface form is expensive and inefficient.
Interferometric method
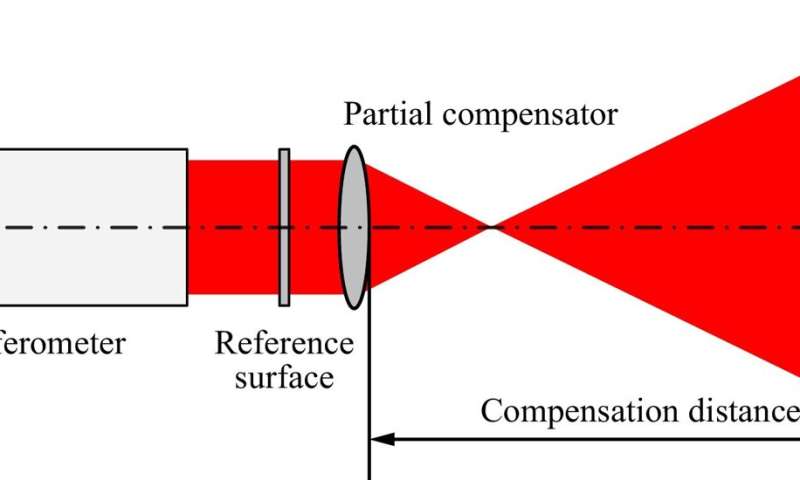
Interferometry is an efficient optical method with superior traceability that has been widely used to test optical aspheric surfaces. Nevertheless, the interferometric setup is complicated, the test cost is high, and the measurement range is relatively small.
Geometrical method
Compared with the interferometric method, the geometrical method lacks traceability. But this method is simple in structure and has a large measurement range.
Center-of-curvature-based method
If the measured data are used to position the corresponding center of curvature, then the methods are classified into the center-of-curvature-based method. The center-of-curvature-based method can measure the radius of curvature of a quadratic aspheric surface with high accuracy but cannot measure the high-order coefficients of an aspheric surface, which means this method has poor versatility.
Outlook
With the gradual maturity of aspheric surface measurement methods, the direct fitting method has been widely used in aspheric surface parameter measurement due to its high accuracy and versatility. The interferometric method, geometrical method, and center-of-curvature-based method have different advantages in test accuracy, versatility, and cost control.
In recent decades, we have been delighted to see the booming development of this area that there are different efficient approaches for different ASUTs in various test scenarios. Nevertheless, the development of advanced optics always poses new challenges. Further progress will undoubtedly be associated with a test method comprehensively considering high accuracy, low cost, and good versatility.
More information:
Qun Hao et al, Measurement techniques for aspheric surface parameters, Light: Advanced Manufacturing (2023). DOI: 10.37188/lam.2023.019
Provided by Chinese Academy of Sciences